How To: Remove a pork rib membrane
Dozer’s Garage
How To: Remove A pork rib membrane

An easy step that will make every rack of ribs you do a lot nicer to eat.
Better Rib Prep = Better Ribs
Our advice on this one is pretty simple and straightforward.
When you’re cooking pork ribs – whether they’re full spare ribs, baby backs or St. Louis style – you always want to remove the membrane on the bony side of the rack. By exposing this additional surface, it’ll help the rub dry marinate both sides of your rubs.
And, you don’t end up with that leathery membrane in your mouth while you’re trying to enjoy your meal. So… no arguing, just do it. ;o)
Step 1
Lay out your rib rack(s) bone side up.
Step 2
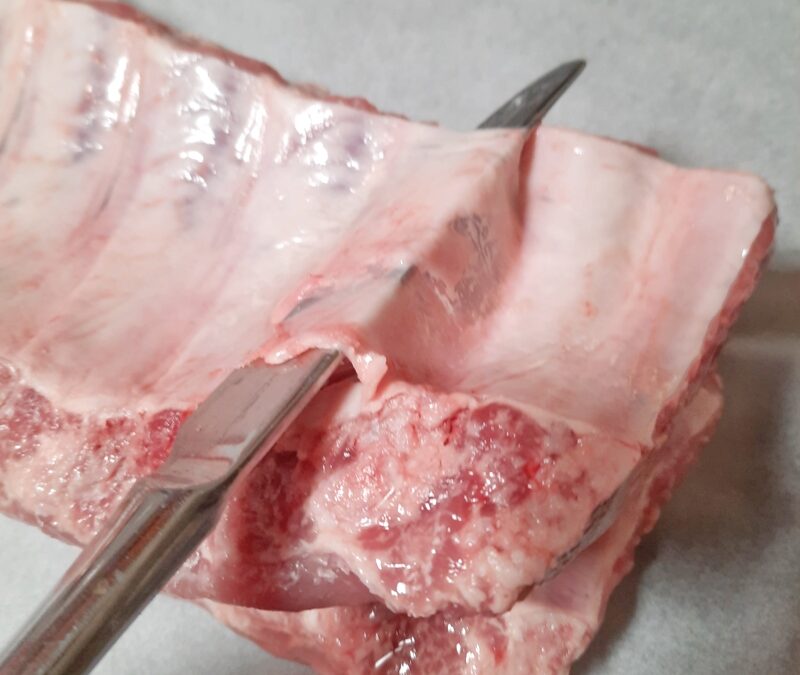
Using a butter knife, wiggle the tip of the knife between the membrane and a bone near one end of the rack. Start to lift up to peel the membrane away but try not to tear it. See Pic 1
Step 3
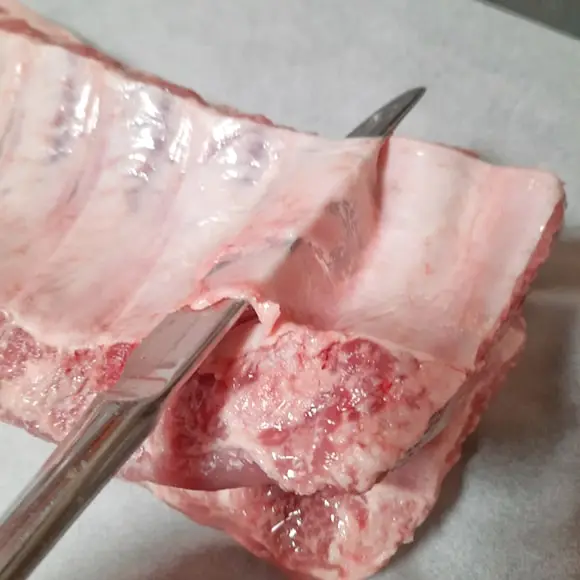
Continue pushing down the length of the bone until the knife blade is completely between the bone and membrane and the membrane is lifted up. If the membrane tears along the way, just back up slightly and angle harder into the bone and keep going. Pic 2
Step 4
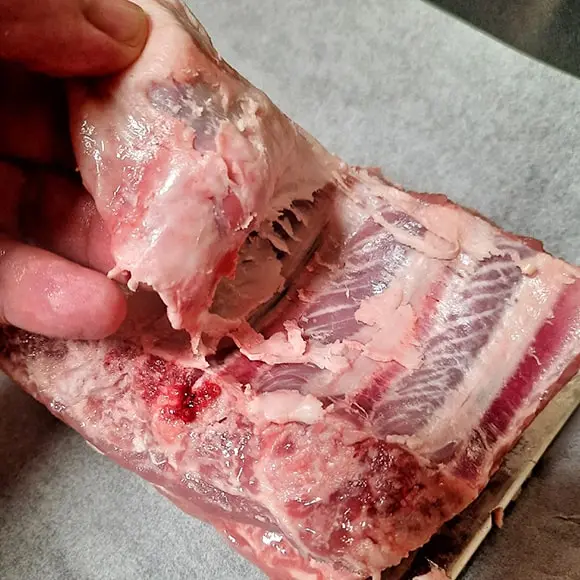
Lift up on the knife so that it pulls the membrane away at that end of the rack. Pic 3
Step 5
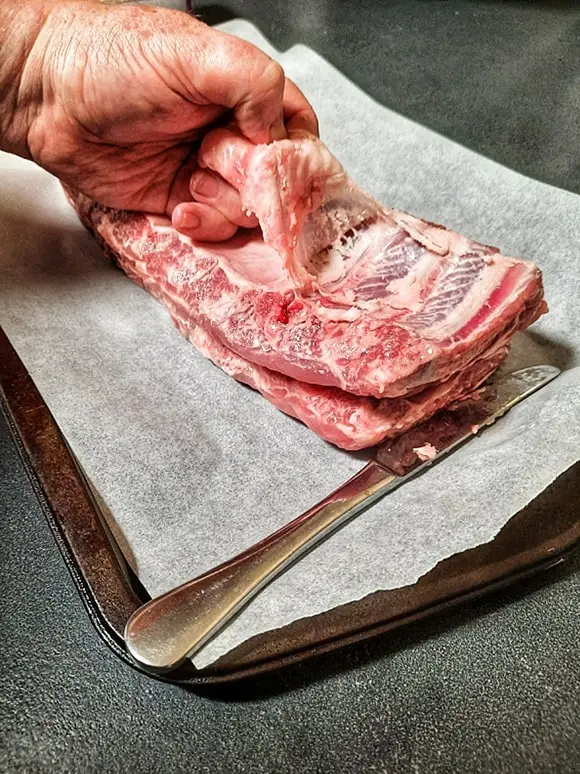
Grab hold tight on the membrane at this point and pull it evenly down the length of the rack. See Pic 4 and video. While not shown in the pic and video, many barbecuers like to use a paper towel to get a better grip on the membrane.
Video


